I often get asked for recommendations of what tools to buy from people interested in beginning wood carving. It can be a confusing process – there are many good brands and hundreds of profiles to choose from. A lot of people start by buying a big set of tools for a large sum of money, which can work, but you often end up with tools right out of the gate that have profiles that will only be useful from time to time, or perhaps not at all for the kind of carving you will be doing. When you have limited funds to spend on tools it is important to get a good mix of useful profiles to begin with to avoid the frustration of not having what you need to get started carving wood.
I am a primarily a relief carver, and I work almost exclusively in softer woods: basswood, butternut, mahogany and walnut. These woods, in most instances, don’t require the use of a mallet to move the tool blade through the wood the way species like oak, cherry and maple require. When starting out buying tools, take into consideration what types of woods you plan on carving – palm handled tools can’t be driven with a mallet, so if you want to carve harder woods you will need to buy tools with the appropriate handles.

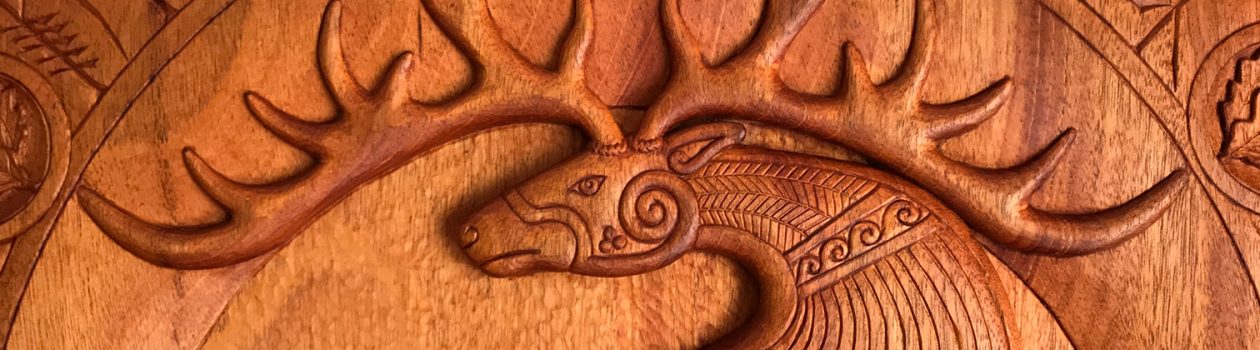
When I started carving I had 6 to 8 Pfeil brand carving tools, all with palm handle grips, and I created the carving above – you would be surprised how versatile a #1 skew double bevel tool can be! I added more of the palm tools, a few at a time, until I had most of the profiles available, and used those exclusively for the first few years I carved. This was a good way for me to start carving relatively inexpensively, adding tools from time to time when I had some extra money. The more interested I became in carving and the more complex the carving designs became, I realized it was time to expand the tools I was working with, and it was then that I started adding Pfeil intermediate and full sized carving tools to my collection.

Based on this experience, I put together a list of 12 carving tools (shown above) that I feel are a good place to start for doing the kind of relief carving I like to do. These are the profiles I use the most, every carving, and if I only had these 12 tools I could get a lot accomplished. They are, from left to right: palm skew double bevel 1/8mm; fishtail 1/16mm; intermediate 2/5mm; intermediate 2/12mm; full size 2/30mm; intermediate 3/8mm; palm 3/12mm; fishtail 3/25mm; full size 5/5mm; intermediate 8/4mm; palm 12/1mm; palm 12/8mm.

If you are looking to expand upon these starter tools the following selection of tools will add nicely to the versatility of your collection – shown above, from left to right: palm skew double bevel 1/12mm; fishtail 1/25mm; palm 5/3mm; fishtail 5/16mm; fishtail 5/25mm; intermediate 7/4mm; fishtail 7/16mm; intermediate 8/10mm; palm 9/10mm; full size 9/13mm; palm 11/1mm; full size 11/7mm.
I recommend the palm tools and intermediate Pfeil tools because they are less expensive, but also because the smaller handles are a better fit for my small hands. If you have larger hands, or if you work with harder species of wood, these handle styles may not be the best choice for you. I use Pfeil tools almost exclusively because they are easily available in a wide range of profiles, and are excellent quality tools. There are other brands of professional carving tools that are going to work just as well: Henry Taylor, Two Cherries, Auriou, and others. Remember that any tool is only as good as your sharpening skills!
You can find Pfiel tools through Woodcraft in the US, and other fine carving tools through Lee Valley, and other similar online specialty stores.
For more information about beginning woodcarving resources I have put up a page HERE of book and sharpening recommendations.
(I do not receive any compensation for making these recommendations.)


 When I had Pearl in my life, I would think of her as my “pearl of great price,” and like the parable, I would tell her that I would sell all that I had to buy her. She was a mutt, a mixture of Terrier and Italian Greyhound and possibly a few other things thrown in – she was small and sleek and sweet, and I loved her like a child. When she was five years old I left an unhealthy relationship, and Pearl became an unfortunate focal point of the power dynamic of that ending. The result was that I left and I never saw Pearl again. It broke my heart, more than I could have imagined. Through processing that loss, Pearl became a symbol of sacrifice – I paid a great price for freedom, and I essentially sold all the emotional capital I had to gain it. So the title of this carving is really about the inverse of the original meaning of the parable, where instead, the Pearl is what is given up to gain the spiritual prize – in my case, my personal freedom and emotional well-being.


